Is FL Studio Good for Recording Vocals?
The short answer: Yes. Yes it is.
SOME COMMON PROBLEMS
It can be frustrating when you record a vocal and then go back to listen it and find out it doesn’t sound anything like what you expected it to.
Maybe it turned out a lot quieter. It sounds muffled, and you hear a lot of background noise.
You had an expectation of what you hear on a professional record, but what you hear is anything but that.
Usually the problem has nothing to do with the Digital Audio Workstation (DAW) you are using.
Most of the time, the fundamentals haven’t been addressed or considered.
So let’s talk about three areas that you need to address in order to get a good vocal recording from FL studio:
- The recording equipment you use
- The environment you record in
- The vocal performance
If you can work through each of these areas, you will get decent results.
But you also need to make sure that you understand that your vocals are not going to sound anything like what you hear on the songs you listen to immediately.
Your goal at this point is to get a quality recording that you can then take to the mixing and mastering process to get the desired sound that you hear in your head.
IF you want to learn how to use FL Studio to produce your own music, check out this FREE course:
[thrive_leads id=’679′]
So let’s talk about recording equipment.
The Recording Equipment You Use
In order to get decent results you have to have some good equipment.
For the moment I’m going to limit that to 3 basic items. You can always expand from there.
But the basic elements you need are:
- A Good Microphone
- An Audio Interface
- Accessories – cable, stand, pop filter
A Good Microphone
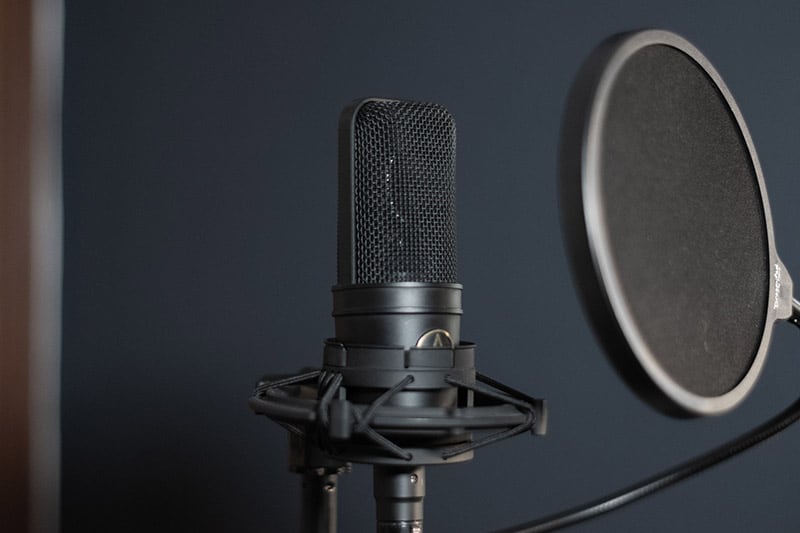
When you are starting out, I think the most versatile mic to have in your collection is a good, large condenser microphone. There are plenty large condenser microphones on the market. So you need to decide what your budget is. I think a good mid-tier price is somewhere in the $300-500 range.

I have a few recommendations for microphones you can see here.
The reason I think you should purchase a good condenser mic is that it is a versatile tool.
If you get a decent one, you can record pretty much anything and get fairly good results. You can use it to record vocals, acoustic guitar, electric guitar, percussion, and just about anything you can put in front of it that will make a sound.
And when you are starting out, you need that kind of versatility. Later on you can decide to get more microphones to add to your collection. Mics like a small condenser, ribbon mics, dynamic microphones, etc.
Those can help you get some specific kinds of tones. And can add to your arsenal of colors.
But back to the condenser mic. Pick up a decent one. And once you have that, you need to get an audio interface so you can get the sound into your computer.
A Good Audio Interface
There are so many options for audio interfaces on the market. And what you might what to get will be based on what your plans are for the future in music production. I have an article that breaks down what and audio interface is, and another that explains what the outputs are used for.
If you are just starting out, you can get some decent audio interfaces in the $100-$300 range.
These will get you decent recordings, but you have some limitations with the cheaper audio interfaces quality on the inputs.
You can get a decent amount of gain, but the cheaper the interface, the more noise you are going to hear in your recordings. Just keep that in mind. Eventually you will probably want to get some sort of a mic preamp in order to help you get a cleaner, better sound than the preamps on your starter interface.
And when you are setting up your channel, make sure that you are getting a good signal level from the singer. Not too loud, and not so quiet that you will hear a lot of room noise.
Now to get the sound from the mic to the audio interface, you need to have a couple of accessories. We’ll talk about those now.
Accessories – cable, stand, pop filter
The basic accessories you will need are:
- A good microphone cable
- A decent microphone stand
- A pop filter
MICROPHONE CABLE
The microphone cable is something that you don’t want to cheap out on. Go for a higher quality cable, and think about how much length you need to get to the interface from where you plan on setting up the microphone.
You want to try to get the shortest run of cable that makes sense in the space, but make sure you don’t go too short.
It’s an absolute pain in the butt when the cable doesn’t have a ton of slack and you are having to set your mic stand up in a weird place in order not to have too much tension on the mic cable.
MIC STAND
The microphone stand is pretty self explanatory. You can find some decent ones around for the $20-25 range. I would recommend getting a boom style mic stand with adjustable arm. This will give you a lot of flexibility for setting up the mic at different heights and locations.
This also helps when you start recording other instruments like guitar, etc.
POP FILTER
Finally on the accessories, make sure that you grab a pop filter.
I wouldn’t purchase the cheapest ones, because they often have mostly plastic components on them that won’t tighten down very well on the mic stand.
I made this mistake, and the pop filter doesn’t grip well, so it ends up rotating a little bit, and it’s hard to get the pop filter in the exact spot that I want to put it.
So spend a little more on it. I would say you can get some decent ones in the range of $20-30.
So that’s all the basic equipment that you need to record vocals, now let’s talk a little about the place you record them.
The Environment that you Record in
I think a lot of times, people don’t give a lot of thought to the room that they are recording in.
It’s easy to just assume that good equipment and a good performance can make for a great recording.
And they can, but they can also be heavily influenced and affected by the room you are in.
And most people are not doing their recording in the most ideal situation. Meaning that they have probably set up shop to record in small extra room in the house, and you don’t have a lot in the way of acoustic treatment.
You can combat this in a couple of ways:
- Create some basic room treatment
- Try an unconventional blanket route
- Find a better space to record in
Create some basic room treatment
Basic room treatment will help improve the sound of your recordings.
It won’t solve all of your problems, but we are looking for improvement, not perfection.
So there are two basic principles that are at work in basic room treatment: reflection and absorption.
REFLECTION
Reflection is when the sound bounces off of a surface and comes back at your ears. It can bounce off of multiple surfaces before it gets back to your ear, and that can create some undesirable effects on your recording.
Think of being in a completely empty room and clapping your hands. You hear all kinds of crazy echo because the entire room is hard surfaces that are bouncing the sound back towards your ears. This more reflection you have, the more “live” the room sounds.
ABSORPTION
Absorption is when you have some sort of material (foam, fiberglass, rockwool, carpet, etc.) that is taking away some of the reflection of the sound by absorbing it as it passes through the material.

Think about what would happen if you were singing really loudly. And then you decided to put a pillow over your mouth and keep singing at the same volume. Suddenly that sound has completely changed, because the pillow is absorbing some of the sound. The more absorption you have the more “dead” the room sounds.
In an ideal room, you want to have a mixture of both live and dead, that makes for the best sound.
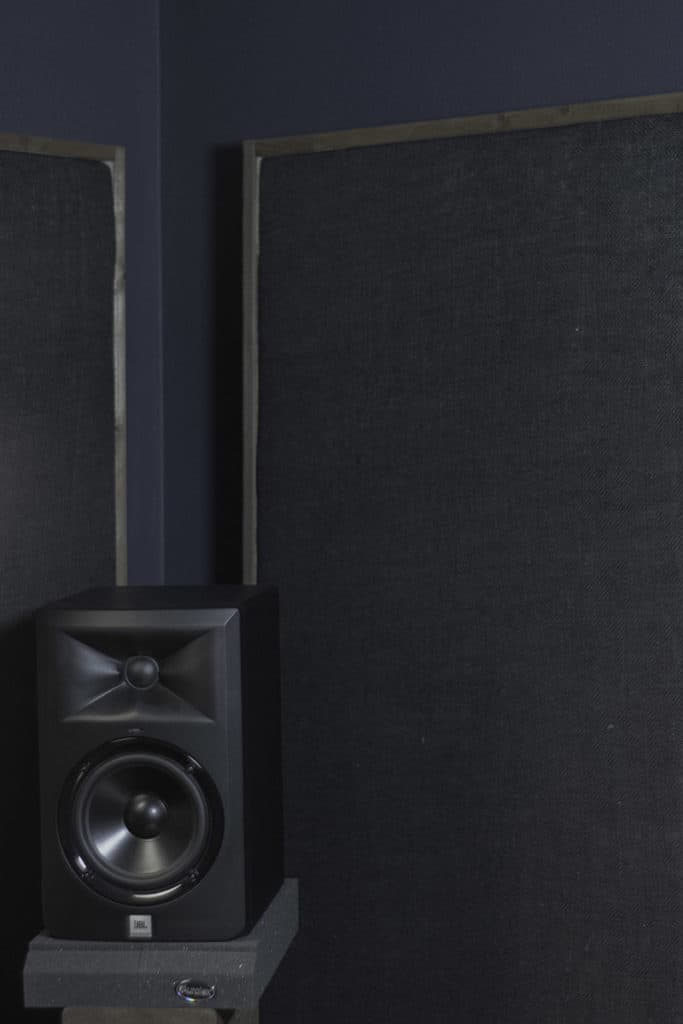
To create some basic room treatment you need to develop a combination of absorption and reflection. Absorption can be created fairly simply by purchasing some wood, insulation and fabric to create your own absorption panels. You can hang these around the room to help.
You can look at this article on absorption placement to figure out the best way to setup your room.
You can also create some diffusion panels as well. These can be used to break up the sound and send it out in all different directions. This cuts down on strong reflections, and breaks them up into smaller reflections (diffusion) that can help you keep the live sound, without it being overpowering.
You can see an example of a diffusion panel here.
Try an unconventional blanket route
I have seen this a couple of time in different variations.
But the basic principle is that you cover over your head or around yourself and the microphone.
And then record from this small impromptu isolation booth.
I’ve seen a few posts of well known musicians doing this on the road from hotel rooms, etc.
There’s a good article where you can hear the differences between different kinds of impromptu vocal recording booths.
Again, it’s more of a hack than a permanent solution, but you never know. You might end up getting some great results with this method.
Or if you want to build your own, more permanent version of a blanket, check out this article from Musician on a Mission.
Find a better space to record in
Maybe you don’t have the best space to work in.
So maybe you need to go and look for a place where it is designed to be quiet already, and see if you can use the space for your recording project.
This could mean that you maybe know someone who has a recording studio, and they will let you use their room for an hour or so.
Or maybe you have access to a theater room somewhere, or an auditorium or sanctuary.
Often times these spaces are created to be acoustically desirable.
Maybe you can borrow them at a not busy time, and do some quick vocal recording for a project you are working on.
The Performance of the Song
Sometimes you could have everything in order with your equipment and the room, but your singer is just not ready. They might be sloppy with how they are singing into the mic.
Which could mean that they are getting up too close it, or staying too far from it. Or it could mean that they aren’t aware of themselves moving toward and away from the mic a lot.
If they aren’t taking into consideration how loud or soft that they are getting, that can cause problems as well..
Maybe they aren’t conveying the tone or emotion of the words well.
Did they warm their voice up before they started recording? If they didn’t, you’ll notice that their voice gets worn out quickly while they are recording.
All of these personal factors for the singer can play into whether or not a voice recording will sound good.
So before you blame the DAW for not being able to record a good vocal, make sure that your singer:
- Warms up their voice
- Knows how close or far from the mic they need to be to get the right tone for the song
- Is ready to convey the emotion of the section they are recording
- Understands how to control their volume so that they don’t over stress the mic and create clipping or undesirable sounds.
- Knows when to get in close to the mic, and when to pull back on the mic to regulate their volume
That in a nutshell is the vocal performance. And it can have a huge impact on whether or not a vocal recording sounds good.
CONCLUSION
So now do you think FL Studio is good for recording vocals?
It can be very easy to think that something must be wrong with the Program, or something else.
But the truth is often that the basics haven’t been taken care of first.
Make sure that you have the basic equipment to record quality vocals.
And make sure that you have taken into account the environment you are recording in.
Do you best to get a great performance from your singer.
If you do those things, your DAW will just capture what you want it to.
If you don’t do those things, then you can’t blame the DAW for not recording good vocals.
